Sunday, 29 November 2020

A spoonful of honey

Rather a long time ago, I bought a cute silicone cake tin for a tear-and-share cake, and never actually got around to using it. So when I was thinking about baking this weekend, I figured it was as good a time as any to try it out at long last. I'm using this recipe, because it sounds lovely and the photos look gorgeous! Fingers crossed for my version turning out so well!

Honey Pull Apart Cake

Ingredients

For the cake

  • 250g Butter
  • 375g Caster sugar
  • 4 Eggs
  • 1 tbsp Vanilla extract
  • 160ml Milk
  • 315g Plain flour
  • 1tsp Baking powder
  • 1/2 tsp Salt
  • 60g Ground almonds

For the glaze

  • 60g Butter
  • 60g Soft brown sugar
  • 185ml honey
  • 1tsp Vanilla extract
  • 2tbsp Water

Method

  1. In a stand mixer, cream the butter and sugar together until fluffy.
  2. Beat in eggs, vanilla extract and milk.
  3. Add the flour, baking powder and salt.
  4. Mix in the ground almonds.
  5. Pour into pan and bake at 180C for ~35-40 mins.
  6. Heat all the ingredients for the glaze in a small saucepan, stirring to dissolve and simmer for 1-2 minutes.
  7. Turn out the cooked cake and cover with the glaze.

Ready for the oven.

Straight from the oven - perhaps a little darker than I was aiming for, but not too far off. It's rather domed though; I think there might have been a bit too much baking powder perhaps.

I mostly got it out of the tin intact - I should probably have let it cool rather a lot more than I did before trying to turn it out. I did burn my fingertips quite a lot, and I suspect the cake would have been more resilient after a bit more cooling. The bake is a bit uneven - the edges are really nicely crisped up (nothing's burnt, the really dark bits are just lovely and crunchy), but the inner sections are possibly a little paler than I'd have liked.


Looks pretty good with the glaze too!

Well, overall it's a moderate success. It's not perfect, but it didn't turn out badly either. I think it's a pretty cute result. The cake itself is a little boring - somewhat bland, although the honey glaze helps. It's quite an eggy, sugary batter, which gives it a lovely crunchy texture if baked enough; I think it would have been better with a little longer in the oven, but I'm pretty sure that my nerves wouldn't have held, given how dark the top got. Perhaps I should have covered it partway through and let it bake a bit longer to try to get the top (by which I mean the bottom of the cake when it's in the tin) a bit more done. There's definite potential here, but it does need a bit of tweaking still.

The tin is a bit of a bugger to clean though!

Edit: It turns out, this is one of the rare cakes that's actually better cold than still warm. I found that I liked it more and more, the more I ate of it, and by the time it was mostly finished, I had actually come around entirely - this is actually really quite a good cake! The enormous amounts of butter in the glaze help keep it super moist, even if it is quite dense, so it keeps surprisingly well as well.

Sunday, 8 November 2020

Quick and easy

I stumbled upon this recipe from Serious Eats earlier, and it looked intriguing - by which I really mean that it appealed to my lazy side. Active time 10 minutes, total time 25 minutes, and to be entirely done in a single bowl? Sounds good to me! This is roughly 3/4 proportions, but with a bit more flour than suggested in the original recipe, because sticking accurately to their amounts gave me a batter rather than a dough.

Quick dark brown sugar biscuits

Ingredients

  • 150g Butter
  • 210g Soft dark brown sugar
  • 15g Caster sugar + 40g for coating
  • 3g Salt
  • 1 Egg
  • 1tbsp Vanilla extract
  • 250g Plain flour
  • 1tsp Baking powder
  • 1/2tsp Bicarbonate of soda

Method

  1. Melt the butter.
  2. Mix in the sugars and salt.
  3. Stir in the egg and vanilla.
  4. Stir in the flour, baking powder and bicarbonate of soda.
  5. Divide dough into small golf-ball sized pieces.
  6. Pour the sugar for coating into the now-empty bowl and roll the pieces of dough in it to coat.
  7. Squash the dough balls to flatten slightly, and place on lined baking trays.
  8. Bake at 180C for ~10mins.

Here they are ready for the oven. I know they're going to merge together - but I'm too lazy to spread them out over a third tray (after all, it's laziness that got me this far, so I might as well roll with it!).

Yup, they merged together. I don't care though - I think they actually form quite a pleasing geometric pattern like this. They look pretty good, don't they?


I added a little too much salt, so they came out ever so slightly salty - not awfully so though, and actually the slight saltiness adds a bit of interest. But the biscuits themselves are actually pretty good! In terms of tastiness-per-effort, these are definitely a big success!


Sunday, 20 September 2020

An unexpectedly fast reprise

So having decided that I wasn't likely to be adding the vegan cookies I made last time to my regular rotation, I found myself baking some thank you cookies for a vegan friend, so had to make another batch! It was supposed to be the same recipe as last time except for reducing the amount of chocolate chips to 185g, but clearly I did something different, as the cookies came out much less flat and a bit more cookie-like. I think last time I must have used a bit less flour/more fat - but even though they look rather different this time around, the texture's surprisingly not that different.

Friday, 28 August 2020

Vegan cookies

To me, vegan baking is really, really hard - eggs are just a magic ingredient. They bind mixtures, give structure, stop things from drying out too much - they're by far the hardest thnig to substitute out successfully. It's the last week of the lockdown baking group that I've been (occasionally) participating in, and so I'm going to give it a shot - this is actually from last week's choice, but I meant to do it and didn't manage to get around to it, so there you go. It's this recipe, essentially unchanged.

Vegan Chocolate Chip Cookies

Ingredients

  • 125g Coconut oil
  • 100g Caster sugar
  • 150g Soft dark brown sugar
  • 125g Coconut milk
  • 1tsp Vanilla extract
  • 275g Plain flour
  • 1tsp Baking powder
  • 1/4tsp Bicarbonate of soda
  • 200g Chocolate chips

Method

  1. Mix the coconut oil and sugars together.
  2. Beat in the coconut milk and vanilla.
  3. Stir in the flour, baking powder and bicarbonate of soda to form a thick batter.
  4. Stir in the chocolate chips.
  5. Cover and refrigerate for at least 1 hour.
  6. Form into plum sized balls and bake for 12-15 minutes at 180C.
  7. Allow to cool slightly before removing to a wire rack.
Batch 1 fresh from the oven. The liners got a bit rucked up when I put the trays into the oven, so some of the cookies are a bit misshapen.


Batch 2 about to go in while batch 1 cools in the background


They're pretty good, though I think they're a little too sweet and have quite a bit too much chocolate in them - the balance just isn't quite right. But they're certainly nice, particularly the crisp, crunchy bits around the edge. Slightly overbaked is definitely better than slightly underbaked for these cookies in my opinion. Not bad overall, but I don't think I'm going to be adding them to my regular repertoire.

Tuesday, 11 August 2020

Advances in automation

As of this weekend, I now have a breadmaker (thanks Paul!). Obviously baking bread in a breadmaker doesn't count as "baking" for the purposes of going on the blog, but I tried it out for the first time today, and thought that at least was worth a note.

So how was it? Well I followed the basic white bread recipe in the manual and... well... it's not great. It's not terrible either, and certainly for the 5 minutes or so of active time that this required, it's really pretty darned good, but discounting the ease of it all and judging solely on the quality of the output, it's not great. It's a bit dense, a bit close and most definitely too sweet. The latter part should be easy enough to fix I'd imagine, but the texture seems a lot like an under developed gluten structure, which might mean that the dough doesn't get kneaded sufficiently in the machine. I'll definitely have to have a play around with it to see if I can do better, but it's also nice to see that I'm not that easily replaced by a machine :o).

Wednesday, 5 August 2020

Baking for fuel

Most of the time, I bake for fun. This time around, it's strictly utilitarian. I've got a ~120km ride planned for the weekend, so I need on-the-go fuel - time for flapjacks! It's basically the same as my old flapjack recipe, but using dried cranberries instead of almonds. Very quick, easy, and hopefully tasty!

Cranberry Flapjacks
Ingredients
  • 150g Butter
  • 200g Oats and seeds*
  • 115g Caster sugar
  • 170g Dried cranberries
Method
  1. Melt the butter.
  2. Mix in all the other ingredients.
  3. Press into a lined tin and bake at 180C for 20 minutes.
  4. Leave to cool slightly before removing from tin.
*I could have sworn we had porridge oats in stock. All I could find was our homemade muesli, which happily is looking rather plain right now - oats with a small amount of sunflower seeds mixed in . It'll do!

Terrible photo, but fresh from the oven, it does look rather good!

Still not a great photo. Also I really can't cut things into even pieces.

There we go! A decent picture at last!


Sunday, 2 August 2020

A Danish dream

It's Danish week! I'd never heard of this cake before, but it looks both easy and tasty, so definitely worth a try! It's this recipe.

Danish Dream Cake (Drømmekage)
Ingredients
For the cake:
  • 3 Eggs
  • 250g Caster sugar
  • 1tsp Vanilla extract
  • 50g Butter
  • 200ml Milk
  • 250g Plain flour
  • 2tsp Baking powder
For the topping:
  • 125g Butter
  • 50ml Milk
  • 160g Dark soft brown sugar
  • 40g Caster sugar*
  • 100g Dessicated coconut
Method
  1. Whisk the eggs, caster sugar and vanilla extract until light and fluffy.
  2. Melt the butter (for the cake).
  3. Stir in the melted butter and milk (for the cake).
  4. Stir in the flour and baking powder until smooth.
  5. Pour into a lined tin and bake at 200C for ~25 mins.
  6. Heat the butter, milk and sugar for the topping in a saucepan and simmer for ~1 min.
  7. Stir in the dessicated coconut.
  8. Spread the topping over the cake and bake for a further 10 mins.
  9. Remove to a wire rack to cool.
*Bet you can't guess what happened here...

Something tells me that I might have added a bit too much baking powder...

Sometimes when a cake has an uneven top, you can level it off using the topping. This was definitely not one of those times!

Slight spillage in the oven. I'm very glad that I had the oven liner in there!


My word though, look at that topping! It reminds me a lot of ANZAC biscuits (sweet, buttery and coconutty - I guess it makes sense). It smells incredible!

Nom I say!

I was super impressed by this cake. Reading the recipe, I thought that the cake part sounded really boring, and I assumed that the topping would be the only interesting part. In reality the topping is lovely, but far too sweet on its own, and is nicely offset by the cake. You wouldn't want a more interesting cake as the base. It's a really nicely balanced recipe!

Sunday, 26 July 2020

Belated brownies

Last week was chocolate week in the lockdown baking group that I'm in (hence the truffles). I had originally intended to make brownies last weekend as well - but thought better of it after making such an absurd quantity of truffles. But I had bought ingredients for brownies, and also been subjected to photo after photo of frankly obscenely gorgeous looking brownies from the others in the group. So even though it's late (we're now at the end of pastry week, which I have missed entirely...), I'm bloody well baking brownies! The recipe is from Waitrose and is essentially unchanged apart from using dark soft brown sugar instead of muscavado.

Chocolate Pecan Brownies
Ingredients
  • 225g Butter
  • 350g Dark chocolate
  • 4 Eggs
  • 350g Dark soft brown sugar
  • 1tsp Vanilla extract
  • 200g Pecans
  • 225g Plain flour
Method
  1. Melt butter and chocolate together.
  2. Whisk eggs, sugar and vanilla in a stand mixer until pale and fluffy.
  3. Stir butter/chocolate into egg mixture.
  4. Coarsely chop pecans.
  5. Fold pecans and flour into mixture.
  6. Pour into a lined tin and bake at 180C for ~30 mins.
  7. Leave to cool (a bit!) before cutting.
Super easy with a stand mixer! I started whisking by hand initially, but decided that I was far too lazy for that. Pretty, no?

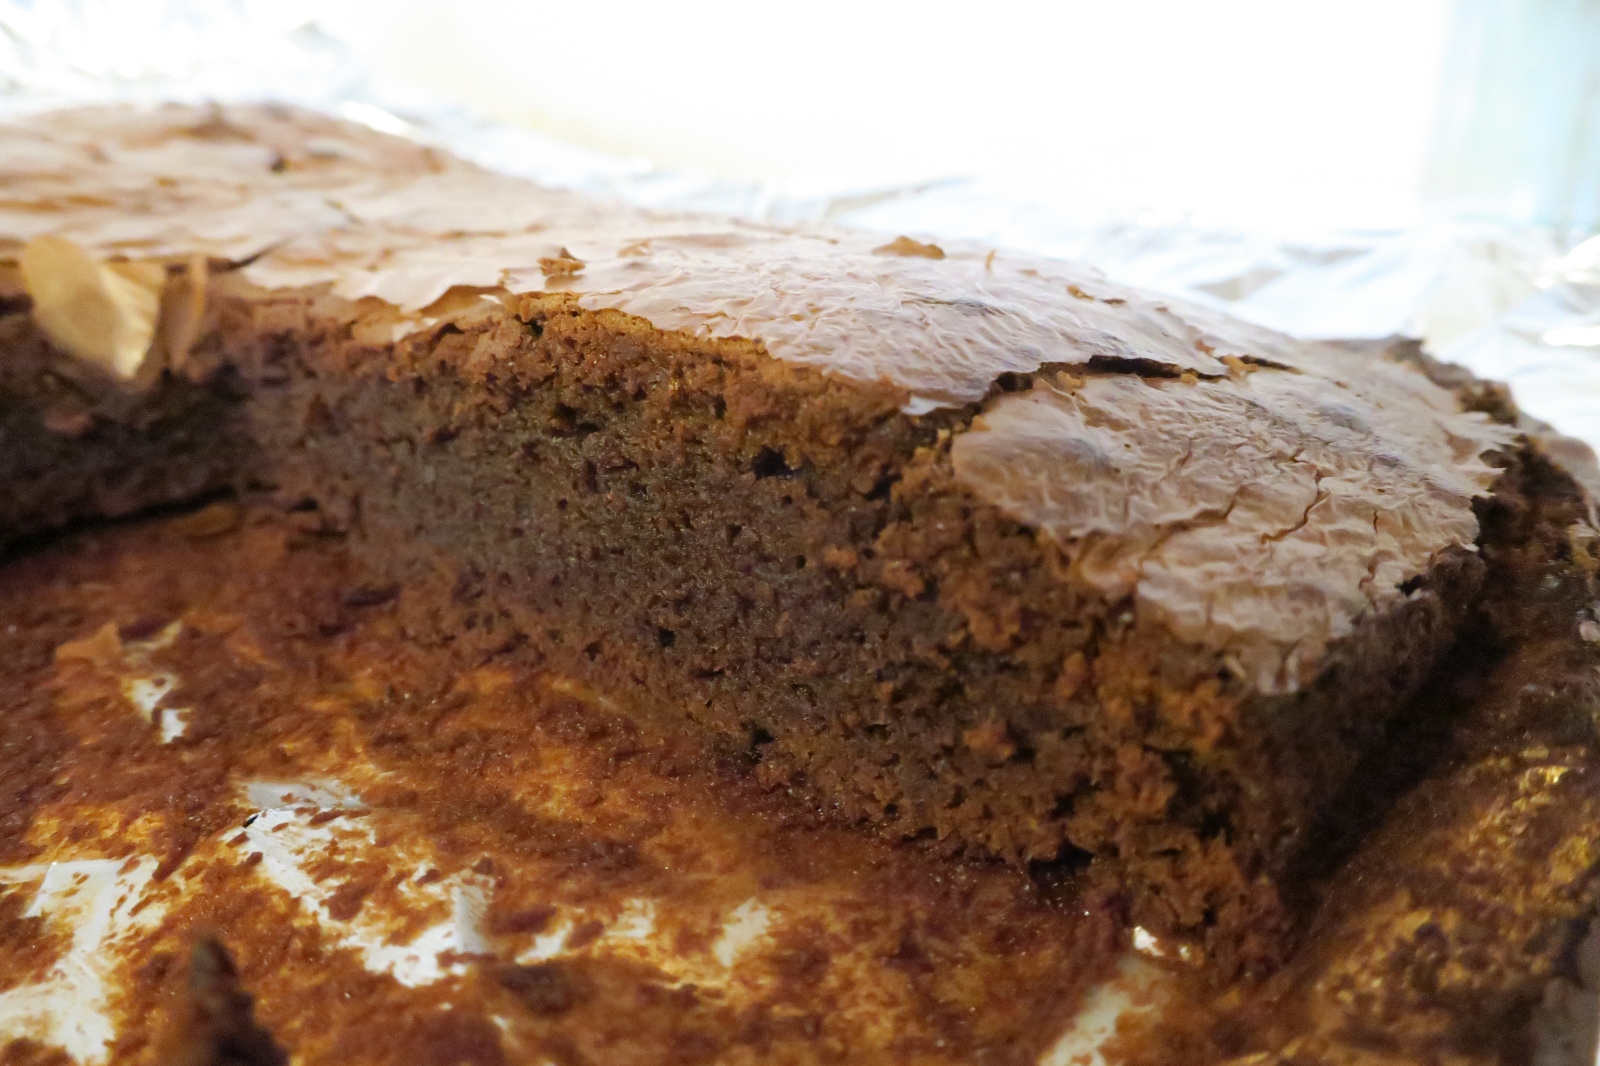
It's a little under baked (yes, I know brownies are supposed to be slightly under done, but I think it's a little too under), but my word, they're tasty.

I've been wanting to find a "go to" brownie recipe for some time - I think this one might be it!

Saturday, 18 July 2020

Marzipan truffles

I like marzipan. I like truffles. Why not marzipan truffles?

Marzipan Truffles
Ingredients
For the filling
  • 300ml Double cream
  • 550g Dark chocolate chips
  • 450g Marzipan
For the coating
  • 400g Dark chocolate chips
  • Chopped almonds
  • 30g Icing sugar
  • 15g Cocoa powder
Method
  1. Make a ganache by scalding the cream and pour over the chocolate for the filling, and stir to melt the chocolate.
  2. Look on in minor horror as the realisation of quite how much ganache you've just made hits you.
  3. Refrigerate ganache overnight to set.
  4. Shape the ganache into small marble-sized balls.
  5. Roll out the marzipan and wrap around the ganache balls until it runs out.
  6. Melt the chocolate and dip the truffles.
  7. Roll them in the chopped almonds and set on a sheet of baking parchment.
  8. When bored of dipping truffles, mix the icing sugar and cocoa powder, and roll the remaining truffles in the powder.
  9. Refrigerate to set.
After one and a half hours of quenelling(ish), here are the truffle cores. Mistakes were definitely made when choosing quantities. I'm pretty sure that I've got some sort of chocolate-related muscle strain right now.

Done with marzipan wrapping.

The marzipan guys turned out nice!


Yup, mistakes were definitely made. The total ended up being 1.6kg!


Saturday, 9 May 2020

Lockdown loaf take two

Sainsbury's finally had more bread flour in stock the last time I went shopping, so I can take advantage of the bank holiday and bake some more bread! I'm keeping it pretty simple still, but I'm going to try adding one extra step that I've been meaning to experiment with for a while, but never quite got around to - a short autolyse before forming the complete dough. We'll see how this turns out!

Lockdown Loaf Take Two
Ingredients
100g Aage
750g Strong white flour
400g Water
13g Salt

Method
  1. Mix Aage, 100ml flour and water together, cover and leave in a warm place for ~3 hours. (12pm)
  2. Mix 500g of the flour with 300ml water in a separate bowl, mix, cover and leave for a further two and a half hours. (3pm)
  3. Combine the mixtures from steps 1 and 2 with the salt and knead with the dough hook attachment of a stand mixer for ~10 minutes (I'm feeling lazy, okay?). (5:30pm)
  4. Cover and leave to rise for ~four and a half hours.
  5. Realise that your dough is closer to liquid than solid and panic a bit. Add a further 150g flour and knead - first in the stand mixer, then by hand. (10pm)
  6. Cover and place in fridge to prove overnight.
  7. Preheat oven to max with Dutch oven inside. (9am)
  8. Pour* dough out onto baking parchment and transfer to Dutch oven.
  9. Bake at 220C for 20 minutes.
  10. Uncover and bake at 180C for a further 30 minutes.
*Yes, "pour" - the dough was still halfway between solid and liquid at this point, and there was clearly no possibility of trying to shape it in any meaningful way...

So it was clear pretty early on that this one went a bit awry! The autolyse clearly did something, but in doing so, the dough just generally felt weird to me. I suspect that what happened was that the gluten developed much faster than I expected, and I accidentally made a very wet dough that didn't feel that wet - though I'm not sure that the measurements bear that theory out. In essence, I don't know exactly what happened this time around, but I did end up with a shear-thickening dough that would flow like a liquid, but stiffened up on kneading.

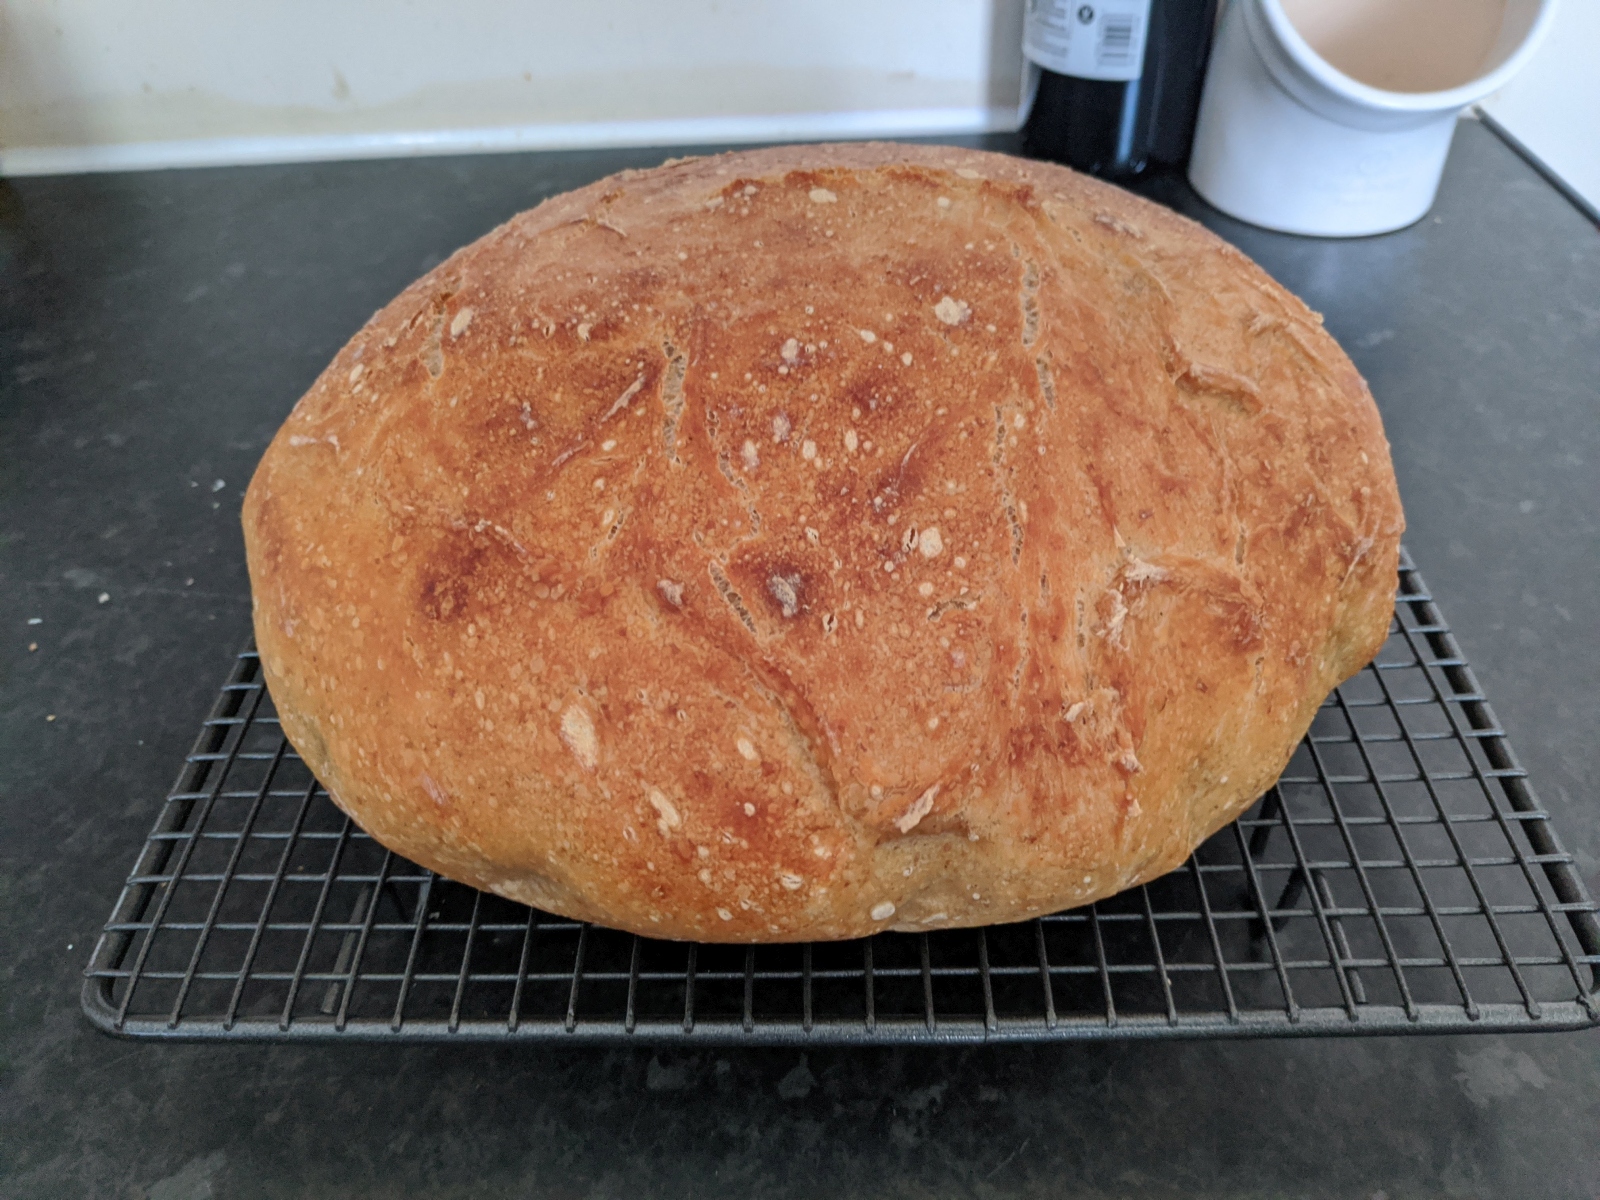
But look at the result! Don't try to tell me that that's not a beautiful loaf!


And how is it on the inside, I hear you ask. Well, not my best ever loaf, but not bad overall! I need to learn to keep my nerve and give it longer in the oven - it's a bit doughy and stodgy in the middle still, which I'm pretty sure another 15 minutes would have sorted out. But the crust has a lovely texture, the rise is actually not bad and the texture is lovely and elastic. A little more drying out and this would have been really lovely. As it is, it's just really good!

Saturday, 28 March 2020

Lockdown loaf

Well, like everyone else, we're in lockdown, and trying to minimise shopping trips. What better excuse to bake some bread (as if an excuse were ever needed). Keeping it super simple this time around - it's a 50/50 wholemeal and white flour mix, and no frills. But I'm going for an overnight proof, and I guess we'll see how it turns out!

Lockdown Loaf
Ingredients
  • 160g Aage
  • 250g Strong wholemeal flour
  • 250g Strong white flour
  • 320g Water
  • 10g Salt
Method
  1. Mix all ingredients together and form dough.
  2. Knead until bored.
  3. Cover and leave to rise for ~2hrs.
  4. Knead and shape into loaf.
  5. Place on parchment paper and leave to proof overnight.
  6. Preheat oven to 220C with Dutch oven inside.
  7. Place dough in Dutch oven and lightly sprinkle with water.
  8. Bake at 220C for 20mins.
  9. Remove lid of Dutch oven and turn oven down to 200C for a further ~25mins.
Here's the dough post-proofing while I'm preheating the oven. I'm guessing by the way that it's flattened out entirely that I probably could have done with a bit more kneading. There are also some weird lumps in the surface that I'm guessing means that I've got some local, big air bubbles. Clearly my kneading and rising technique needs some work. It's also possible that leaving it to prove unsupported on a flat surface (I left it on the inside of the (cold) Dutch oven) might have been a bad idea - I guess this is why you're supposed to use proofing baskets...

Not a bad rise, all things considered. I had completely forgot to score the bread before chucking it into the oven, so perhaps it could have risen a little bit more - though given the general liquidness and lack of structure to the dough, I'm not sure how of a difference this would actually have made. The crust is a bit darker than I'd have liked, but it's not actually burnt at all, and it's got quite a pleasing colour to it. I suspect it might be a bit hard and a bit thick, but I've got to say, it's still quite an attractive looking loaf!


First, the bad: as expected, it's a flawed loaf - it's got the huge balloon of air at the top, which I suspect might be over-proofing at play. The thin skin left at the very top explains why it went so dark so quickly, and that in turn led me to underbake it - the inside is a bit overly doughy and excessively moist, and the crust could, if anything, do with being slightly thicker. But actually, despite the flaws, this loaf is quite wonderful still! The flavour is beautiful - complex and sour enough that you don't feel cheated of it being a sourdough, but not overpoweringly so. The crust has a lovely snap in the bits where it was sufficiently cooked - on the very thin top and the base (a side effect of the Dutch oven is that the bottom crust is thickened). All in all, it's a joy to eat, even if the flaws are glaringly obvious!

Sunday, 22 December 2019

It's my party and I'll bake if I want to

I'm having some friends over for drinks this evening, and seeing as I'm now officially on holiday (though I might yet have to pop in to the lab tomorrow briefly), I thought it'd be a nice chance to bake something. Fiona reminded me the other week that I hadn't baked any cinnamon rolls this year, with no ulterior motive at all in drawing my attention to that fact, I'm sure. But she did raise a good point, and the cinnamon rolls are easy, satisfying to make and a bit of a crowd pleaser, so that's what I'm doing! It's the same recipe as ever (I mean, it's so good, why would I tweak it?!), though I went with apple juice to soak the sultanas rather than alcohol.

Sunday, 1 September 2019

Vanquishing foes

There are one or two baking (or in this case, bakingish) things that have always terrified me into not attempting. Croissants are an obvious example. Macarons as well, though I did sidestep that one by making a cheaty version that was never supposed to look like those beautiful pillows with perfect feet. (One day I'll summon the courage to make them properly, but who knows when that'll be?). Baguettes are also in the queue. Today though, it's not a classic, highly technical recipe that I'm finally going to attempt; in fact, it's possibly one of the simplest things I could make. Rather, it's an easy technique that I've always found a little intimidating - deep frying. It's entirely irrational, but there's something about having so much hot oil in a pan that seems a little scary. But I do also love doughnuts, and it feels like a perfect way for me to dip my toes (not literally) into deep frying, so here goes. I'm using this recipe, with only very minor modifications for laziness.

Doughnuts
Ingredients
  • 1 Egg
  • 90ml Water
  • 150g Buttermilk
  • 60g Butter
  • 60g Caster sugar
  • 450g Plain flour
  • 1 sachet (7g) Fast action dried yeast
  • Caster sugar for coating
  • Ground cinnamon for coating
Method
  1. Put all of the ingredients (except for the coatings) in a stand mixer with a dough hook and mix until a dough forms. Continue to mix for ~5 mins.
  2. Place bowl in a bin bag and leave to rise for ~1hr.
  3. Knead briefly. Shape into doughnut shapes and place on parchment.
  4. Leave to rise in an (off) oven, with a tray of boiling water underneath.
  5. Heat sunflower oil to ~180C.
  6. Fry each doughnut until golden brown underneath, then flip and fry other side.
  7. Allow to cool slightly on kitchen towel.
  8. Roll in a mixture of caster sugar and cinnamon to coat.
Here are the freshly formed doughnuts at the end of step 3, before the final rise. I thought I'd better experiment with different sizes and shapes.

Disaster! So funny story - it turns out, I'm not very good at thinking sometimes. I decided to put the baking paper straight onto the oven's wire rack, and then put the pan of boiling water immediately below it. Obviously (at least it's obvious now that it's happened), the steam just soaked the paper entirely, meaning that I lost a couple of doughnuts from the edge when the paper just curled downwards and fell through the rack, and all of the others are very much wet and hideously stuck to the now sodden paper.

Here they are after rescuing as best I could. I went with flipping the whole thing over to expose the wet side, teasing the soaked paper off as best I could (some scraping was needed), and I'm just going to let them dry for a minute or two before frying. The original recipe said to use the steam to try to prevent a skin from forming on the doughnuts - I'm now doing exactly the opposite and relying on a skin forming to let me get them into the oil without sticking to everything!

I didn't set anything on fire, and didn't burn myself, so I'm counting this as a success. I suspect my doughnuts might be slightly over-done, and I have a sneaking suspicion that my oil was a bit too hot, so some of the big guys might be a little undercooked in the middle. But apart from that, they're looking pretty promising, if a little misshapen.

Of course, a bit of sugar and cinnamon makes anything look tasty!

So, what's the verdict? Well, suffice to say... OM NOM NOM NOM! NOM! NOM! And just look at that crumb! Despite the minor disaster midway through, these probably couldn't have gone much better. The texture is best described as pillowy - superbly soft, wonderful doughy goodness. The outside crust has just the right amount of crunch, and they taste great. I omitted the salt from the dough on the grounds that I ended up (mostly) using salted butter, and it probably could have done with a tiny touch more salt in the end, but it's a pretty minor point. I'm super happy with these though - they were definitely worth the hassle!

Saturday, 18 May 2019

BraveTart Brownies

I saw these gorgeous brownies on Reddit a while back, and saved the link because I thought I absolutely had to try baking them. It's certainly not the first time I've tried doing brownies, but they have seemed a bit of a weak spot in my baking repertoire, and previous attempts have had a pretty mixed success rate. I also don't yet have a go-to recipe, so I've got my fingers crossed that these turn out like the ones that inspired me!

The recipe is the BraveTart recipe on Serious Eats. The only changes I made were to omit the instant coffee and to add an extra egg as the eggs I had to hand were relatively small.

Brave Tart Brownies
Ingredients
  • 340g Unsalted butter
  • 170g Dark chocolate chips
  • 450g Caster sugar
  • 55g Soft brown sugar
  • 4g Salt
  • 7 Eggs
  • 1tbsp Vanilla extract
  • 125g Plain flour
  • 115g Cocoa powder
Method
  1. Melt the butter in a saucepan over a low heat. Once melted, brown the butter by simmering over a medium heat, stirring continuously, until the hissing stops.*
  2. Remove from the heat and stir in the chocolate.
  3. Mix the sugar (both types), salt, eggs and vanilla in a stand mixer on a medium-high setting for ~8 minutes until very thick and fluffy.
  4. Turn the stand mixer down to low and pour in the chocolate/butter mixture.
  5. Sift the flour and cocoa powder together. Add to the mixer in one go, then finish the mixing by hand with a spatula.
  6. Pour the batter into foil-lined pans and bake at 180C for ~30 mins until barely firm.
  7. Allow to cool in the tin before cutting and removing.
*The butter foamed up and tried to escape the pan much like pasta water does - this was when I decided that the butter was browned enough!

Check out this action shot! This is the finished batter (and it smells amazing!).

Ready for the oven. There's quite a lot of brownie...

Pretty gorgeous straight out of the oven. Lovely glossy top.


Sunday, 24 March 2019

Insomnia bread

I've been sleeping pretty dreadfully this last week, and while it's been getting better over the last few nights, I've still been waking up at unpleasant hours of the night and being unable to sleep. Last night, I woke up about 4am, and by about 6am it was clear that I wasn't getting back to sleep in a hurry, so I decided to get up and get a sourdough loaf going. Given that I started this at silly o'clock, and it's been a while since I last tried baking bread, I thought I'd better keep this one simple, but it's nice to get back to doing bread. I think this is also my first loaf since getting my hands on a stand mixer, which makes life much, much easier!

Insomnia Bread
Ingredients
  • 200g Aage*
  • 300ml Water
  • 400g Strong wholemeal flour
  • 6g Salt
Method
  1. Mix Aage, 200ml water and 200g flour in a bowl.
  2. Wrap in a bin bag and leave to rise for ~8.5hrs.
  3. Add the remaining 200g flour and 100ml water, and the salt.
  4. Knead in the stand mixer with a dough hook until the dough comes together and stops sticking to the sides.
  5. Knead briefly by hand**, return to the mixing bowl and rewrap in the bin bag.
  6. Leave to prove in a warm place for ~3.5hrs.
  7. Place a Dutch oven*** in the oven and preheat to 220C (as hot as the oven allows).
  8. Transfer the dough to the Dutch oven, sprinkle with water and close up.
  9. Turn the oven down to 180C and bake for ~25mins.
  10. Uncover and bake for a further ~10 mins.
*In case anyone is new or has forgotten, Aage is my sourdough starter. He's fed entirely with wholemeal flour, and is typically about 50% hydration, though I always feed him by eye, so this does vary quite a bit...
**I find that once the dough has reached a certain point, the stand mixer doesn't really do anything because the dough wraps itself around the hook and just whirls around as a solid ball. By this point though, the hard work has been done, and it's pretty easy and quick to finish off the kneading by hand.
***My Dutch oven is actually a Lodge combo cooker. It's absurdly expensive in the UK (£74 on Amazon UK at the time of writing), but also absurdly cheap in the US ($34.90). Definitely worth getting at the American price, but almost certainly not at the British price!


This one tasted absolutely lovely - just the right amount of sourness - but the texture wasn't quite right. I had noticed that the dough was a bit overly wet (I think I was being a bit overly optimistic on hydration levels this time around), but I failed to account for it in the bake. As a result, it was really rather doughy in the middle - it could really have done with much longer in the oven uncovered to help dry it out - but not unpleasantly so. Not a perfect loaf, but still pretty darned tasty!