A few years ago when I was in Switzerland, I came across the most amazing bread in the
Co-op. It was called Butterknoten (literally "butter knot"), was slightly sweet and unbelievably buttery. For the last few years, I've been looking, on and off, for a recipe for it, to no avail. But the other week, during my most recent search for one, I discovered that it's not usually called Butterknoten. There's a very similar, common Swiss bread called Zopf (literally "braid"), which looks similar but is totally savoury, and a German variant called Hefezopf ("yeast braid") which, from the recipe, looks exactly like what I remember. It's always hard to tell from the recipe if you've never baked something like it before though, so there's only one thing for it: Time to get baking! The recipe I'm using is near-as-worth-a-damn half-quantities of
this one. I couldn't be bothered to make
pearl sugar though, although I'm sure it'd be absolutely wonderful! If this works well, maybe I'll try it next time...
Hefezopf/Butterknoten
Ingredients
- 125ml Milk
- 80g Sugar
- 80g Butter
- 1 sachet Fast-action yeast
- 2 Eggs
- 1/2 tsp Salt
- 500g Strong flour
- 1 Egg yolk
Method
- Heat the milk, sugar and butter together until melted and lukewarm.
- Whisk in the yeast, eggs and salt.
- Fold in the flour to form a dough and knead for a few minutes.
- Place in your trusty baking bin liner and leave for ~1hr to rise until doubled in size.
- Divide dough into four equal pieces.
- Roll each piece into a sausage ~50cm long.
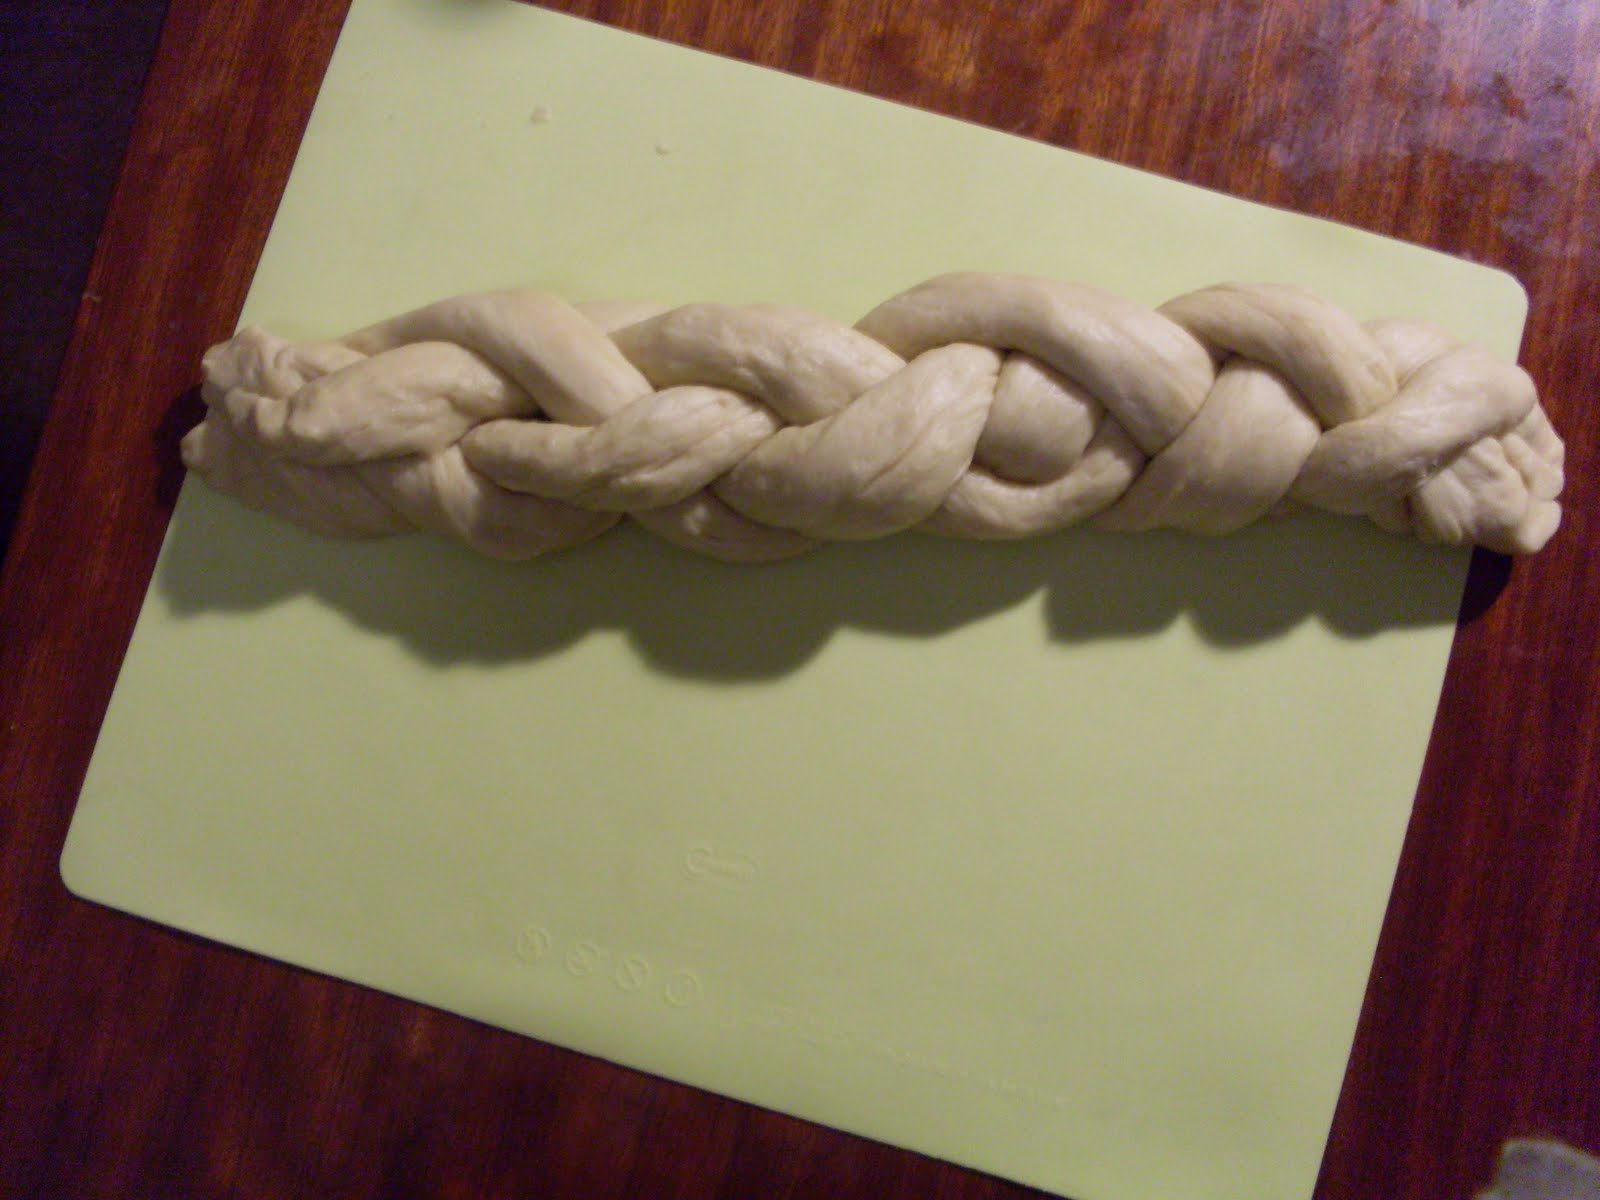
- Braid into a plait*, tucking the ends underneath.
- Cover with a damp tea-towel and allow to rise for ~30mins
- Brush with the egg yolk.
- Bake at 190C for ~30-35 mins.
*There are many ways to do a four-strand plait. I went with
this method (take the leftmost strand, bring it over two strands and back under one strand so that it ends up being the second-from-the-left, then repeat on the right hand side), which is linked from a
rather nice blog post on how to make Challah - a similar, plaited bread.
One unexpected discovery I made: a warm mixture of milk, butter and sugar smells surprisingly appetising! It doesn't look remotely appetising though...

Once the flour's incorporated, it forms a wonderfully soft, buttery dough (not overly surprisingly, given how much butter's involved!). I did have to add a touch more flour to get to this point though.

The plait coming together.


Here's the finished plait, ready for the final prove.

Ready for the oven! I'm excited about it, aren't you?

Fresh from the oven. As ever, it's a little burnt (stupid college oven...), but I think it looks pretty darned good personally! I hope it's cooked all the way through though...

 I think I've made the same mistake I always make with crumbles - mixing the flour and butter together too thoroughly. We shall see...
 Looks good!
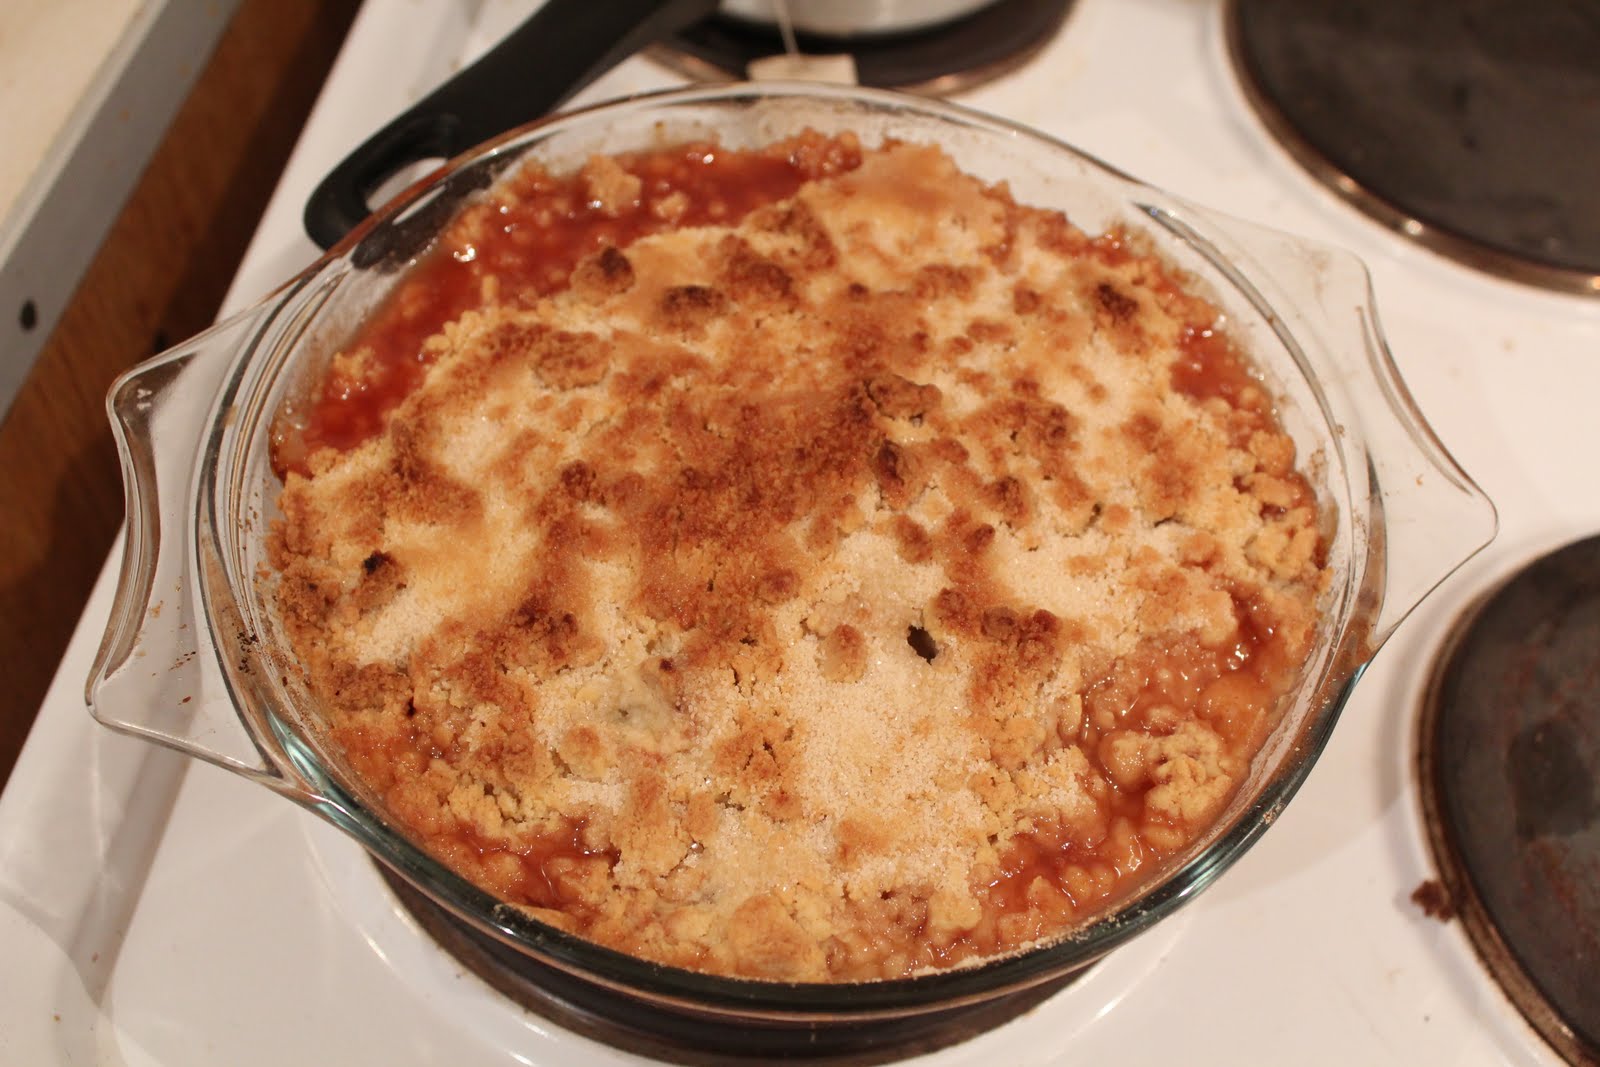


