
Saturday, 16 October 2010
Verdict: Red velvet cupcakes
In my opinion, they were slightly disappointing. They were reasonably good, but ultimately pretty boring. They don't taste of much, and although they are quite nice and moist... they don't taste of much. And I still don't really like icing, although this particular icing was much better than the regular sugar-and-water types. All in all, it's a success, but I really don't understand why this cake has such an incredible reputation. Give me an Elizabeth David chocolate cake any day...


Red velvet
There are few cakes whose reputation really precedes them. One is the Elizabeth David cake, whose reputation is entirely justified. Another is a very American recipe - the Red Velvet cake. I think it's time for me to try this one out, and to give it the best chance possible, the recipe I'm using is out of the Magnolia Bakery cookbook. I've decided to bake it as a batch of cupcakes though and the buttercream isn't actually what's suggested as icing, but the creamy vanilla frosting that they actually suggest looks like way too much hassle.
Red Velvet Cupcakes
Ingredients
For the cupcakes
Red Velvet Cupcakes
Ingredients
For the cupcakes
- 170g Butter
- 430g Caster sugar
- 3 Eggs
- 76ml (two bottles) Red food colouring
- 3tbsp Cocoa powder
- 1 1/2 tbsp Vanilla extract
- 355ml Buttermilk
- 330g Plain flour
- 1 1/2 tsp Cider vinegar
- 1 1/2 tsp Bicarbonate of soda
- 115g Butter
- 390g-500g Icing sugar
- 60ml Milk
- 1tsp Vanilla extract
- Cream the butter and sugar until fluffy.
- Beat in the eggs.
- Whisk in the food colouring, cocoa and vanilla extract.
- Fold in the buttermilk and flour a little at a time, alternating buttermilk and flour.
- Mix in the vinegar and bicarbonate of soda.
- Pour into cupcake moulds and bake for ~20mins at ~180C/Gas mark 3.
- Remove to a wire rack to cool.
- For the buttercream: Cream the butter, 260g of the icing sugar, the milk and the vanilla extract together.
- Gradually add the remaining sugar, beating after each addition, until the buttercream is thick enough to be of good spreading consistency.
- Spread or pipe buttercream on top of cooled cupcakes.
Here's my glamourous assistant, Veronica.
 The finished cake batter. Just look at that colour!
 How much it made - twelve small cupcakes and about a sandwich tin's worth of batter.
 The cupcakes were a bit burnt on the top, but actually it's not as bad as it looks by a long shot. Even the most badly burnt bits were very edible.
 But just look at how pretty the cupcakes were when turned out!
 Me looking somewhat gormless while checking on the big cake.
 The cupcakes removed from the trays.
 The big cake.
 After icing. I think they look pretty good!
 The finished cake batter. Just look at that colour!
 How much it made - twelve small cupcakes and about a sandwich tin's worth of batter.
 The cupcakes were a bit burnt on the top, but actually it's not as bad as it looks by a long shot. Even the most badly burnt bits were very edible.
 But just look at how pretty the cupcakes were when turned out!
 Me looking somewhat gormless while checking on the big cake.
 The cupcakes removed from the trays.
 The big cake.
 After icing. I think they look pretty good!
Saturday, 11 September 2010
Verdict: Quick and easy Kugelhopf
Mmmm. It's a very slightly sweet, fairly buttery bread. With sultanas in it. Nothing special you might think, and you'd be absolutely correct. But it is rather good. I think it'd go well with a glass of milk, or possibly a cup of coffee (of course, it'd go very well with a cup of tea, but I think you should have been assuming that). All in all, quite a pretty and pleasant thing, but not terribly special.

[Edit]Incidentally, I've just noticed, this is the 100th post - thanks for reading![/Edit]

[Edit]Incidentally, I've just noticed, this is the 100th post - thanks for reading![/Edit]
A quick and easy Kugelhopf
I wasn't going to bake at all today, but Kenny put the idea into my head earlier and it just sort of stuck. But I'm moving this weekend, so it's got to be quite a quick and easy recipe. As you may recall, I bought a Bundt tin a while ago. It's not had nearly as much use as it deserves though, so I thought I'd bake a nice and easy Kugelhopf (Incidentally, does anyone know the difference between a Bundt tin and a Kugelhopf tin? As far as I know, they're basically the same, so if anyone knows, I'd be interested to find out!).
This is based on this recipe, but either I screwed up the conversion to sensible units, Kugelhopf is nothing like I think it is or the recipe is really quite rubbish. The recipe below is approximately what I did, which is very different from the recipe I was cribbing - my recipe is far from ideal I'm sure, but it should be good enough...
Quick and Easy Kugelhopf
Ingredients
- 500g Plain flour
- 1 sachet Fast-action dried yeast
- 40g Caster sugar
- 2 Eggs
- 240ml Milk
- 115g Butter (I only had 85g butter in stock, so I substituted the rest with olive oil)
- 75g Sultanas
Method
- Mix the flour, yeast, sugar, eggs and milk into a dough.
- Work in the butter.
- Knead for a few minutes.
- Knead in the sultanas.
- Put into a well-greased Kugelhopf tin, cover and allow to rise for ~1hr.
- Bake at 180C for ~50mins until the top (i.e. the base of the cake) is brown.
- Remove from tin and allow to cool on a wire rack.
Here's the Kugelhopf ready for rising (middle of step 5).

And here it is after rising and ready for the oven (end of step 5). Out of the oven.
 Look, it came out of the tin!


 Out of the oven.
 Look, it came out of the tin!


Sunday, 5 September 2010
Verdict: Pear and almond cake
Wonderful! This is a fantastic cake; the cake itself is lovely and moist and nicely sweet. The almond taste really comes through as well, which I hadn't been expecting. The pears are soft and sweet and taste lovely from the caramelising. But the juxtaposition of the two is really spectacular. I really love this cake - it looks beautiful, it tastes fantastic and it's moist enough that it really doesn't need to be served with anything (although I did serve it with custard, and that did work nicely). One of the best cakes I've baked so far I think!


Pear and almond cake
This is a cake that I've been intending to bake for aaaages. It's actually one of quite a long list of recipes I want to get around to trying but haven't found time actually to bake. Until now! The recipe is taken from here with a few very minor modifications.
Pear and Almond Cake
Ingredients
For the pears
 Now partway through and at the end of step 2. Quite a lovely change, isn't it?
 After staying in the fridge overnight, the pears have survived remarkably well!
 The batter's a bit thicker than normal cakes (I'm guessing this is because of the ground almonds - they'll release a lot of oil when baked). I'm also unconvinced that the proportions of pear to cake are correct; I'd already reduced the number of pears from 3 to 2. But anyway, here's the cake ready for the oven (end of step 7).
 And here it is again after baking. I think it looks really rather good!

Pear and Almond Cake
Ingredients
For the pears
- 2 Large pears
- 25g Butter
- 1tbsp Caster sugar
- 150g Butter
- 125g Caster sugar
- 2 Eggs
- 1tsp Vanilla extract
- 75g Self-raising flour
- 75g Ground almonds
- 1tsp Ground cinnamon
- Peel and core the pears, then cut into quarters.
- Heat the butter and sugar together in a large frying pan. When the butter is bubbling and the sugar has dissolved, add the pears and caramelise over a medium heat, turning occasionally.
- Remove the pears from the pan and allow to cool. (I did this much the previous day and put the pears in tupperware in the fridge overnight).
- Cream the butter and sugar together until fluffy.
- Beat the eggs and vanilla extract into the mixture.
- Fold in the flour, ground almonds and cinnamon.
- Pour the mixture into a lined baking tin. Arrange the pears on top.
- Bake at 170C/Gas Mark 3 for 40-50 minutes.
- Allow to cool for a few minutes before removing from the tin.
 Now partway through and at the end of step 2. Quite a lovely change, isn't it?
 After staying in the fridge overnight, the pears have survived remarkably well!
 The batter's a bit thicker than normal cakes (I'm guessing this is because of the ground almonds - they'll release a lot of oil when baked). I'm also unconvinced that the proportions of pear to cake are correct; I'd already reduced the number of pears from 3 to 2. But anyway, here's the cake ready for the oven (end of step 7).
 And here it is again after baking. I think it looks really rather good!

Sunday, 29 August 2010
Why won't anyone believe me?!
Bacon cookies really work. Neither my mum nor my brother believed me, so I had to bake them a batch. It's the same recipe as last time, except without walnuts and I used dark brown sugar instead of caster sugar.
Here are the cookies ready for the oven.

And ready to eat!

 Both my mum and my brother were sceptical at first. They tried the cookies and said they didn't like them. But they continued eating the cookie and finished it. And then went for another. And another. And eventually conceded that it really genuinely works. What we learned from this time around though is that the walnuts actually do add something, even if I didn't realise it at first; you really notice the absence.
Here are the cookies ready for the oven.


And ready to eat!

 Both my mum and my brother were sceptical at first. They tried the cookies and said they didn't like them. But they continued eating the cookie and finished it. And then went for another. And another. And eventually conceded that it really genuinely works. What we learned from this time around though is that the walnuts actually do add something, even if I didn't realise it at first; you really notice the absence.
Wednesday, 25 August 2010
Verdict: Spiced honey, sultana and nut roll
Honestly? A bit of a disappointment, really. It's tremendously pretty, but the taste just doesn't quite live up to the looks. I thought it somewhat bland - actually, I thought it needed more of everything: more honey, more sultanas, more nuts and definitely more spice! But being a bit more specific, I think it really needed a bit more sweetness, so honey would be the first thing I'd increase. Or rather, I'd add some brown sugar on top of the honey. The sultanas worked really well and I think having a bit more would definitely be an improvement - the same goes for the nuts, but they were closer to the right amount. And the spices were barely present - I needed to add a heck of a lot more. Overall, it was a disappointment, but it shows a lot of promise. A few minor tweaks to the recipe, and this could be excellent. Maybe some mixed peel and possibly a little ground ginger or cloves too would benefit matters, but really it's just the overall balance of flavours that needs tuning.
 This rather arty photo is courtesy of Kenny.
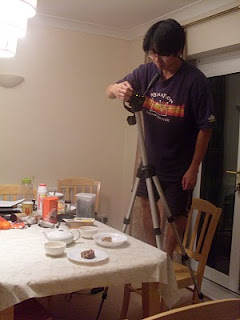
 And if you'd like to know why Kenny's photos always look so much better than the ones I take, this gives you an idea of the lengths he goes to when he takes photos. This time around, it was a relatively simple shot; usually he also goes to the hassle of getting a couple of table lamps positioned to improve the lighting!
 This rather arty photo is courtesy of Kenny.
 And if you'd like to know why Kenny's photos always look so much better than the ones I take, this gives you an idea of the lengths he goes to when he takes photos. This time around, it was a relatively simple shot; usually he also goes to the hassle of getting a couple of table lamps positioned to improve the lighting!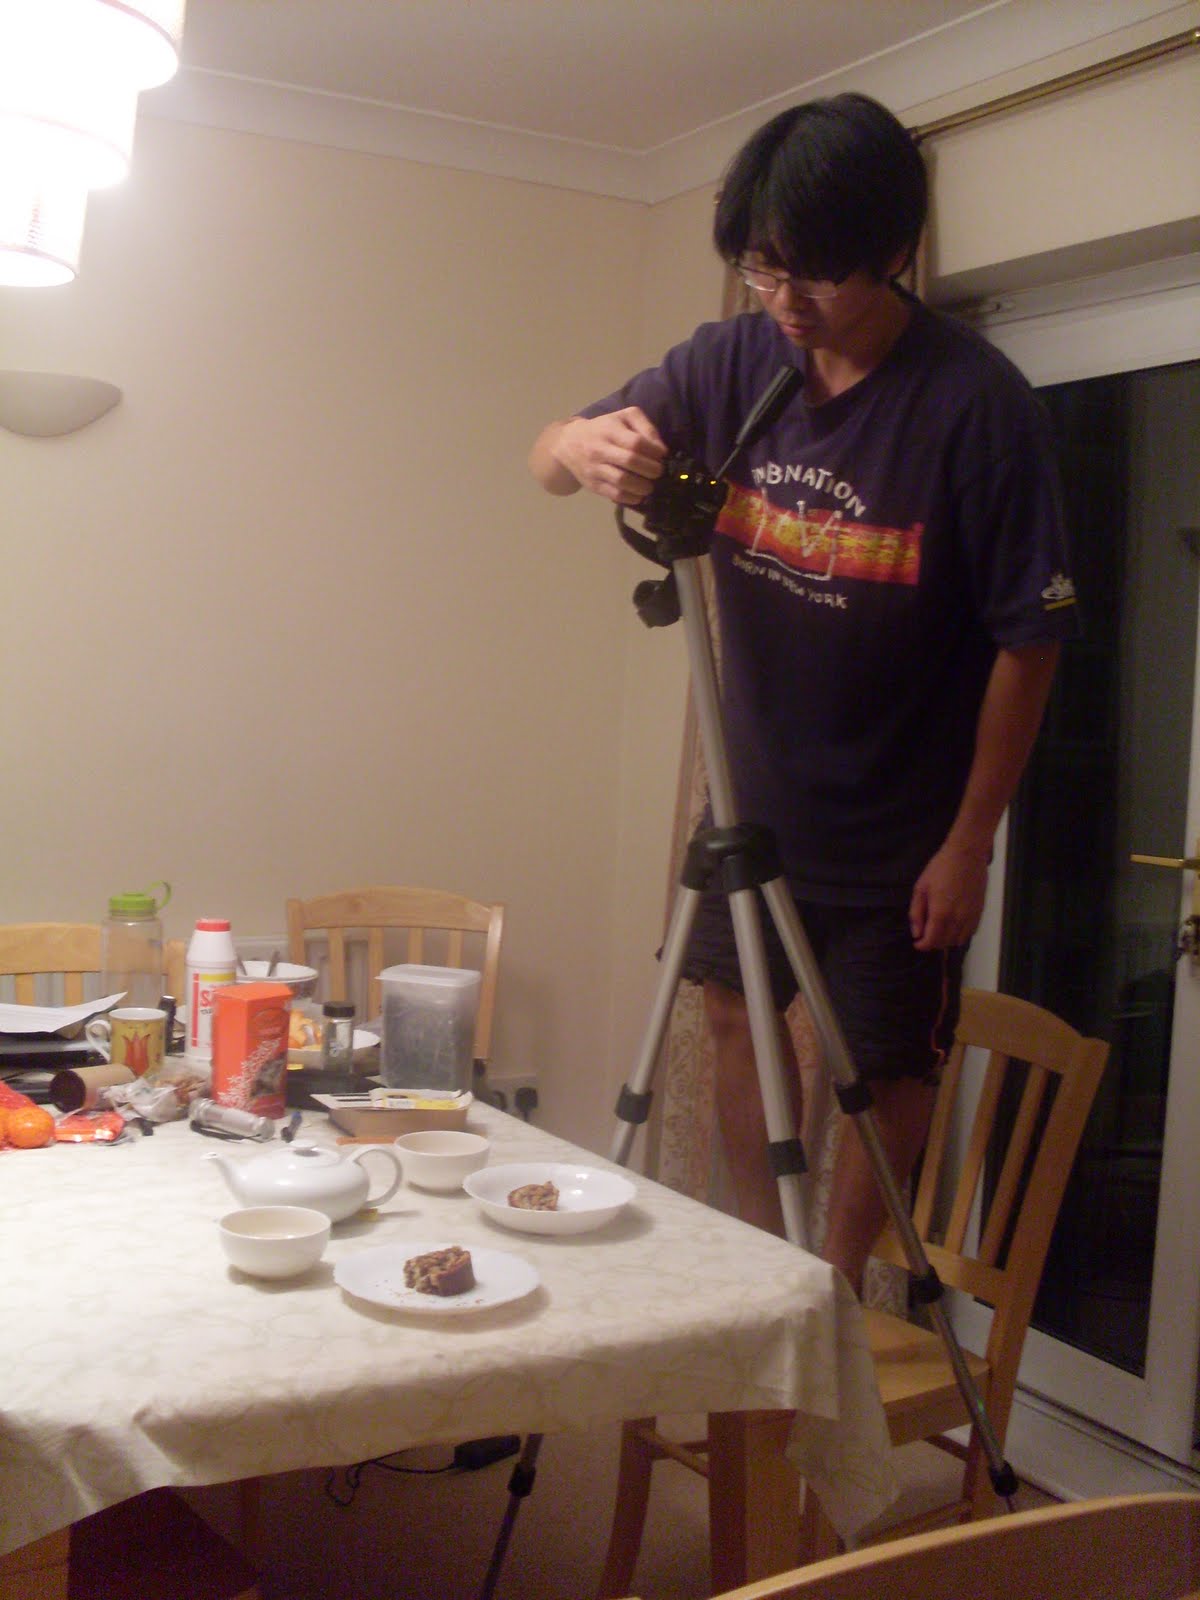
Roll over Beethoven? No, there are no berries here...
It's been a while since the last entry, but I've been busy. I felt like baking today though, which seemed like a good reason to bake! I got the idea for this from a recipe for Beigli from The Baker, but it bears only a fairly small resemblence really. This is just a sweetened bread turned into a sultana, nut, honey and spice roll. It's not a massively adventurous recipe, but I think it ought to work nicely.
Here it is at the end of step 5. After rolling (end of step 6).
 After proving (end of step 7). It's not risen very much!
 But out of the oven, it's looking rather a lot better. Some of the honey leaked a bit though.

Spiced honey, sultana and nut roll
Ingredients
- 1/2 sachet Fast-action yeast
- 310g Strong flour
- 110g Unsalted butter
- 65g Caster sugar
- 1 Egg, beaten
- 90ml Milk
- 45g Walnuts*
- 40g Hazelnuts*
- 50g Almonds*
- 185g Sultanas
- 3tsp Cinnamon
- 1 1/2tsp Nutmeg
- 110g Honey
Method
- Mix the yeast with the flour and rub in the butter until it resembles coarse breadcrumbs.
- Mix in the sugar, then stir in the milk and egg and combine to form a dough.
- Knead for 10 minutes, then allow to rise, covered, until doubled in size.
- Knock the dough back and knead for 5 minutes. Flatten into a rectangle a little bit larger than A4 size.
- Sprinkle the sultanas, chopped nuts and spices over the dough, then drizzle the honey over the top.
- Roll the dough up widthways and place on a greased baking tray.
- Cover with a damp teatowel and leave to prove until doubled in size.
- Prick the top with a fork in several places and bake at 200C for 35-40 minutes.
- Remove to a wire rack to cool.
Here it is at the end of step 5.
 After rolling (end of step 6).
 After proving (end of step 7). It's not risen very much!
 But out of the oven, it's looking rather a lot better. Some of the honey leaked a bit though.

Saturday, 31 July 2010
Verdict: Apple and blackberry flan
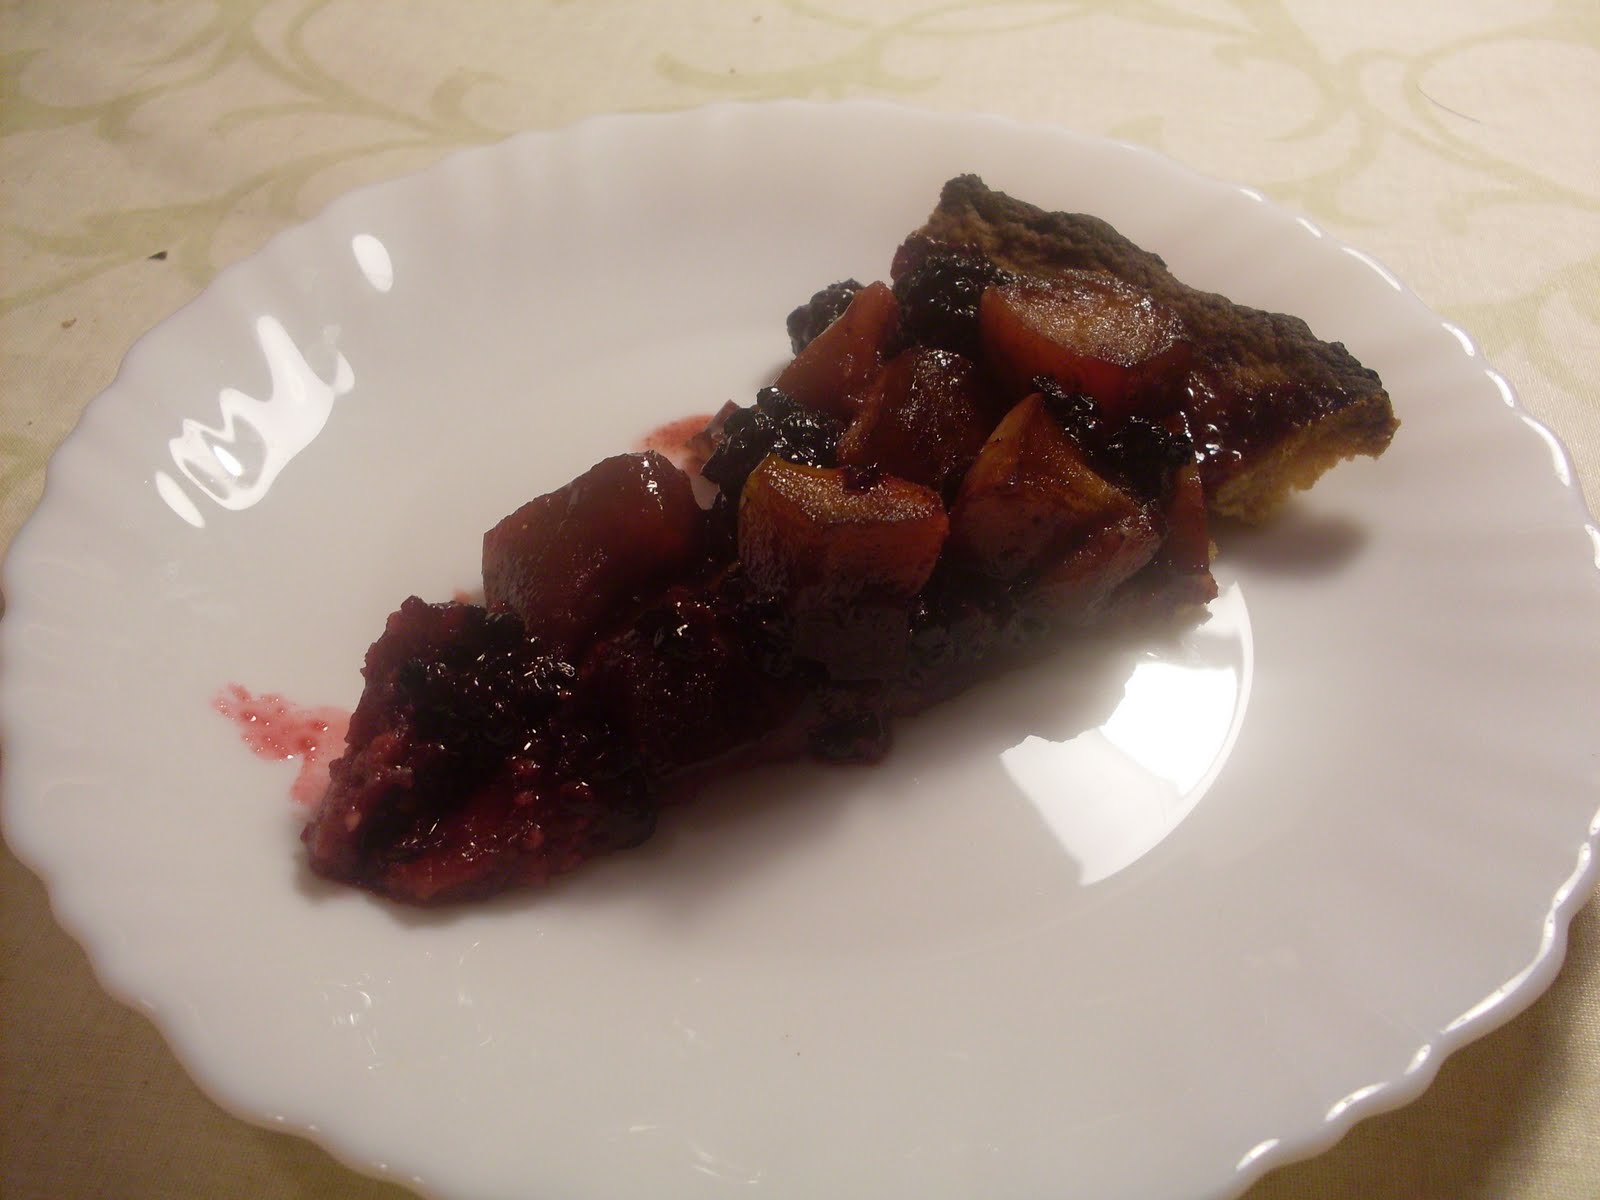
Sadly, it looks better than it tastes. On the plus side though, that's more because it looks amazing, rather than it not tasting good. And it does taste good... but I don't think it's better than (or even quite as good as) a tarte tatin. The sweetness is absolutely perfect - and there's a lovely gradation from the sweet pastry through the medium apple to the sharp blackberries. There's a nice soft texture to the apples; the texture of the blackberries is not so nice (but exactly as you'd expect from blackberries). But the problem I have with this one is that there's something missing in terms of flavour - it's all perfectly pleasant, but it needs just that little bit more zing. Perhaps it needs some citrus - maybe some orange zest or a squeeze of lime; I'm not convinced that this is actually what it needs, but it's just a little boring in its current form. Perfectly pleasant, but unexciting. Oh dear, I think I've just baked the Hardys wine of the flan world...

 Incidentally, if anyone's wondering why the first two photos in this post are so much better than the others from today, it's because those two are courtesy of Kenny!


 Incidentally, if anyone's wondering why the first two photos in this post are so much better than the others from today, it's because those two are courtesy of Kenny!
'Tis the season for blackberrying
Blackberries are in season right now - so go to your nearest hedgerow and grab an armful! (Mind the thorns!). Here's what I did with mine.
Apple and Blackberry Flan
Ingredients
For the pastry
 Ready for the oven! I had intended to make them both lattice tarts, but I hadn't left enough pastry to do the big one - so I made an apple and a blackberry instead (yes, that is supposed to be a blackberry!).
 Finished! The pastry on each could probably have done with a little bit longer in the oven, but I was worried about the top of the filling burning. I think it's okay though. It came out of the oven bubbling and just generally looking gorgeous - I can't help but think that this would simply be fantastic served hot with a big dollop (that's a technical term, by the way) of good vanilla ice cream...

Apple and Blackberry Flan
Ingredients
For the pastry
- 290g Plain flour
- 165g Butter
- 95g Caster sugar
- Very cold water
- 50g Butter
- 75g Dark muscovado sugar
- 500g Diced Braeburn apples (3 good sized apples)
- 445g Blackberries
- 100g Honey
- 1 1/2 tsp Ground cinnamon
- Sift the flour into a bowl and rub the butter in until it resembles coarse breadcrumbs.
- Mix in the caster sugar.
- Add just enough water to bind into a dough.
- Roll out and line a flan ring and a sandwich tin, reserving some dough for decoration.
- Prick the base both all over with a fork.
- Refrigerate for 10 mins.
- Line and weigh down both cases with baking beans.
- Bake blind for 15-20 mins at 190C, remove the baking beans and bake for a further 5-10 mins. Allow to cool in the tin.
- In a saucepan, melt the butter, and mix in the sugar.
- Add the diced apples and cook over a moderate heat for 15 mins to soften.
- Add the blackberries, honey and cinnamon and stir well.
- Pour the mixture into the prepared cases.
- Roll out the reserved dough and decorate as desired.
- Bake at 190C for 25-30mins.
 Ready for the oven! I had intended to make them both lattice tarts, but I hadn't left enough pastry to do the big one - so I made an apple and a blackberry instead (yes, that is supposed to be a blackberry!).
 Finished! The pastry on each could probably have done with a little bit longer in the oven, but I was worried about the top of the filling burning. I think it's okay though. It came out of the oven bubbling and just generally looking gorgeous - I can't help but think that this would simply be fantastic served hot with a big dollop (that's a technical term, by the way) of good vanilla ice cream...

Tuesday, 6 July 2010
Verdict: Bacon and walnut cookies
Weird. But most definitely in a good way. I'm utterly perplexed - this shouldn't work, but it most definitely does. And not in a novelty way - they really stand up on their own merit. The bacon tastes exactly like you expect bacon to taste - salty and meaty. The cookies taste of bacon. But they're definitely sweet. And it just works.
I don't think the walnuts really added anything - I thought they'd provide an interesting distraction from the bacon, but they're just completely overpowered by it. And now, having tried them, I don't think that caramelising the bacon would work. But it really doesn't matter - these are pretty darned awesome in their own right.
The question is, where will it end? If bacon cookies works, how about bacon cupcakes? Or bacon cake? Bacon sorbet???!
I don't think the walnuts really added anything - I thought they'd provide an interesting distraction from the bacon, but they're just completely overpowered by it. And now, having tried them, I don't think that caramelising the bacon would work. But it really doesn't matter - these are pretty darned awesome in their own right.
The question is, where will it end? If bacon cookies works, how about bacon cupcakes? Or bacon cake? Bacon sorbet???!
Everything's better with bacon
Almost any food can be improved by the addition of bacon. For some foods, this is obvious; salads, burgers and chicken are clearly better with bacon. Some foods don't take much imagination to see that this might be true - for example, a good steak is perfectly good alone, but a nice slice of crispy, streaky bacon would add a lovely counterpoint to it. But the argument that all food is improved by bacon is generally derailed by desserts; certainly, I don't want any bacon with my Black Forest Gateau thank-you-very-much.
But I don't see why this should be true of cookies. Well, let's see, shall we?
Bacon and Walnut Cookies
Ingredients- 3 Rashers unsmoked bacon (25g cooked weight)
- 40g Butter
- 80g Caster sugar
- 1 Egg
- 1tbsp Honey
- 1tsp Vanilla extract
- 75g Self-raising flour
- 40g Walnuts
Method
- Rinse the bacon to remove excess salt.
- Trim off all the fat from the bacon and finely chop.
- Fry the bacon until crispy. Set aside to drain.
- Cream the butter and sugar together until fluffy.
- Beat in the egg, honey and vanilla extract.
- Finely chop the walnuts.
- Sift the flour into the mixture and fold in with the bacon and walnuts.
- Spoon onto greased baking trays and bake at ~190C/Gas Mark 5 for 10-12 minutes until golden.
- Remove to a wire rack to cool.
Here is the bacon after frying (end of step 3). It looks surprisingly like the artificial bacon bits you can buy.

Ready for the oven (step 8).

Fresh from the oven - I slightly overcooked them, but I think I've gotten away with it.

I had (what I thought was) a genius idea just before I baked this, but I couldn't be bothered effect it - that of caramelising the bacon bits after frying. If this turns out well, maybe I'll give that a go next time around...
Subscribe to:
Posts (Atom)
